Neurographic Art as a Creative Meditation
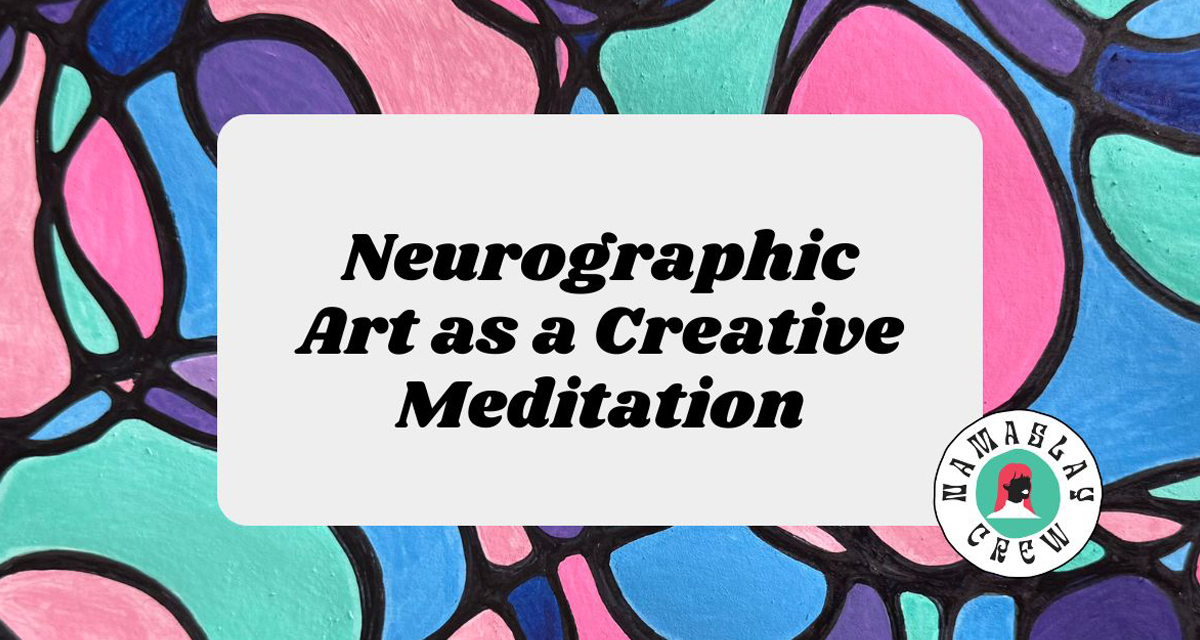
Neurographic Art as a Creative Meditation
In This Post
- What neurographic-inspired art is
- Why I keep coming back to it
- What supplies you need
- How I create my pages
- Ways to make the practice your own
I have several neurographic-style pages in my art journals, and every one of them looks completely different.
Some are colorful and layered. Some are mostly black lines. Some eventually become part of a bigger journal spread with paint, words, stickers, magazine clippings, or whatever else is taking over my desk that day.
That is part of what I love about this practice. You can begin with one wandering line and absolutely no plan. You do not need to know what the page will become. You do not even have to decide whether it is going to become anything.
You just start.
For me, neurographic art is less about producing a perfect finished piece and more about getting out of my head for a while. I can follow the lines, soften the intersections, add color, and let the page take shape without needing to force a message or make everything mean something.
Sometimes it becomes a meditation. Sometimes it helps me work through a mood. Sometimes it is simply a really satisfying way to fill a page.
All three count.
What Is Neurographic Art?
Neurographic art is a drawing practice built around free-flowing lines, intersecting shapes, and the process of rounding or softening the places where those lines meet.
The formal NeuroGraphica method was developed by Pavel Piskarev and includes specific drawing principles and structured algorithms. The more casual version many artists use in journals is often inspired by those techniques rather than being the complete official method.
That is the approach I am sharing here: a simple, neurographic-inspired creative exercise you can explore in your own art journal.
The basic idea is wonderfully approachable. You draw lines that travel across the page in unexpected directions. Where the lines intersect and create sharp corners, you round those corners. Then, if you want, you add more lines, shapes, color, patterns, words, or layers.
It may sound almost too simple, but once you begin rounding all those little intersections, something shifts. Your attention narrows. Your hand slows down. The noise around you gets a little quieter because you are focused on what is directly in front of you.
One line. One corner. One section at a time.
Why I Keep Coming Back to It
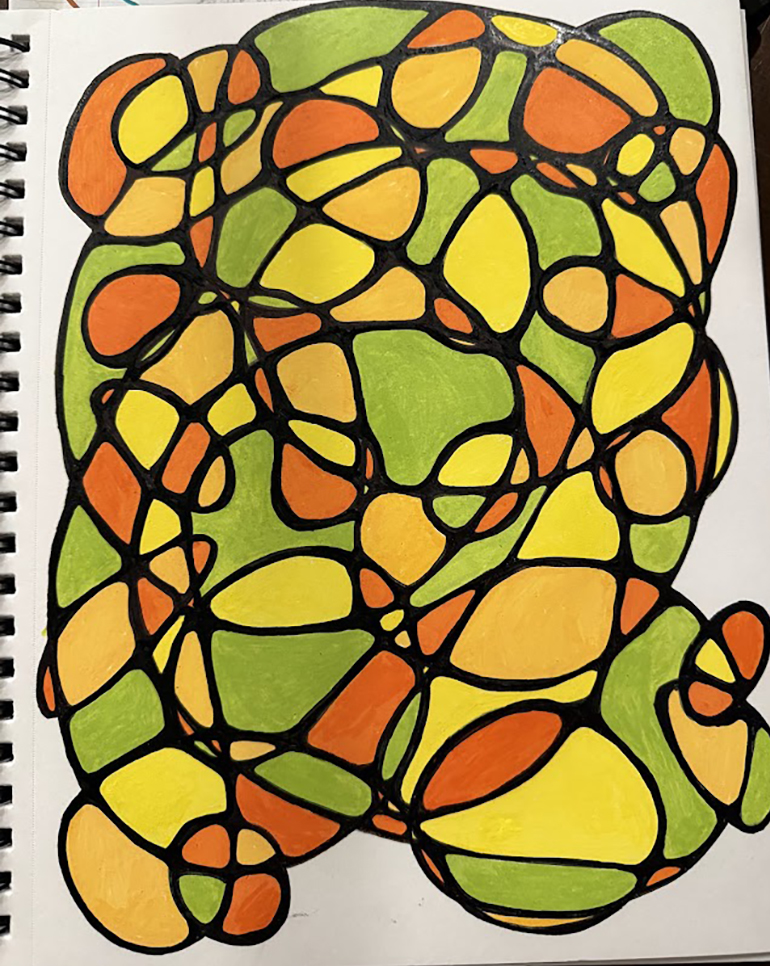
I love art journaling, but I do not always sit down with a brilliant idea ready to go.
Sometimes I want to make something, but I do not know what. Sometimes I have too many ideas. Sometimes I am tired, distracted, overstimulated, or simply not in the mood to turn my feelings into a deep journal entry.
Neurographic art gives me somewhere to begin.
There is no blank-page pressure because the first step is just making a line. Once that line is there, it gives me something to respond to. One line becomes several. The intersections become shapes. The shapes suggest colors. Before long, the intimidating empty page has turned into a whole little world.
It also works beautifully with the way I already use my NamaSLAY art journal.
I can make the drawing the main focus of the page or use it as a background. I can work around a journal prompt, intention, affirmation, tarot pull, moon reflection, or one of our monthly printables. I can also come back later and add more when I feel inspired.
Nothing says an art journal page has to be created in one sitting.
You Do Not Need to Be an Artist
Let’s get this out of the way now: you do not need to know how to draw.
You are making lines, not auditioning for art school.
Your lines can wobble. Your circles can be strange. Your colors can clash. You can accidentally smear the ink and decide it adds character. This is an art journal, not a museum submission.
The unexpected parts are often what make the page interesting.
This practice is especially good for anyone who has ever said:
- “I’m not creative.”
- “I don’t know what to draw.”
- “I’m afraid I’ll mess up the page.”
- “I bought the supplies, but now I just stare at them.”
- “Everything I make has to be useful or good.”
You are creative because you are creating. That is the entire requirement.
If I want a little direction without planning an entire page, I might also pull an idea from our creative journal prompts.
What You Need
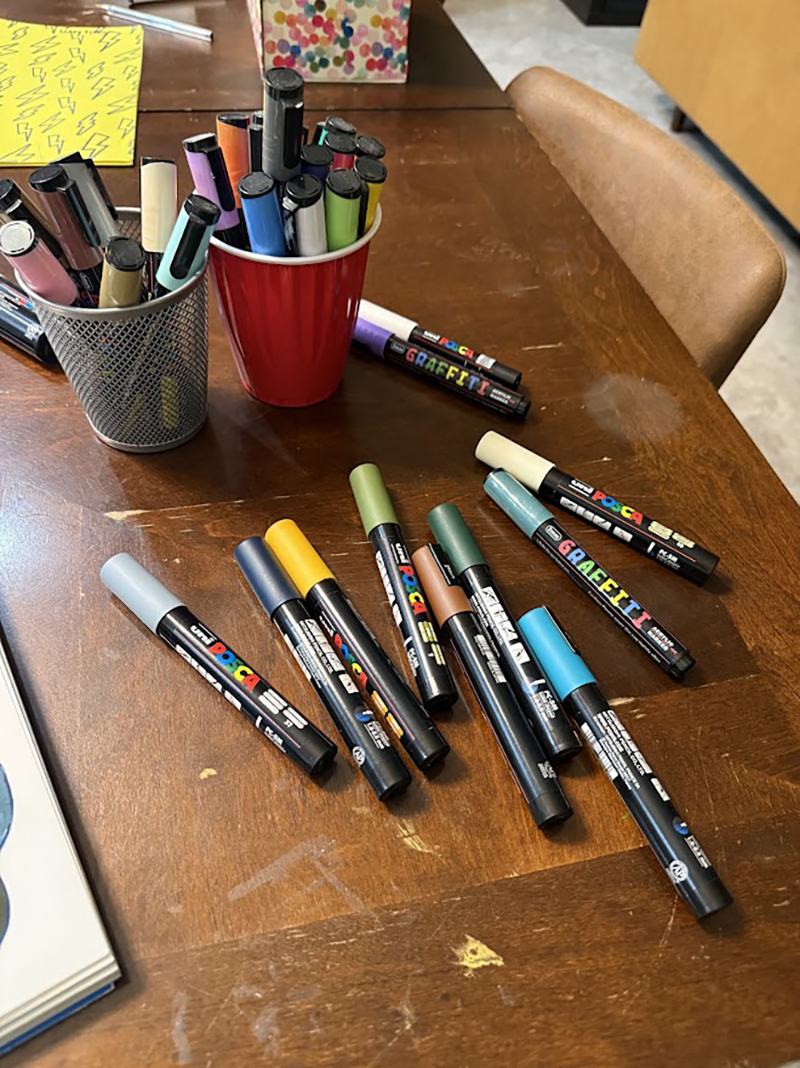
You can keep this incredibly simple:
- An art journal or piece of paper
- A black pen, fine liner, or marker
- Colored pencils, markers, watercolor, or paint, if you want to add color
That is it.
You can use the supplies you already have. You do not need a perfectly curated collection of matching markers unless buying art supplies is part of your spiritual practice, in which case I fully support your journey.
If you plan to add watercolor or a lot of ink, use thicker paper or place a protective sheet behind your page.
How I Create a Neurographic-Inspired Art Journal Page
1. Decide Whether You Want to Begin With Words or Shapes
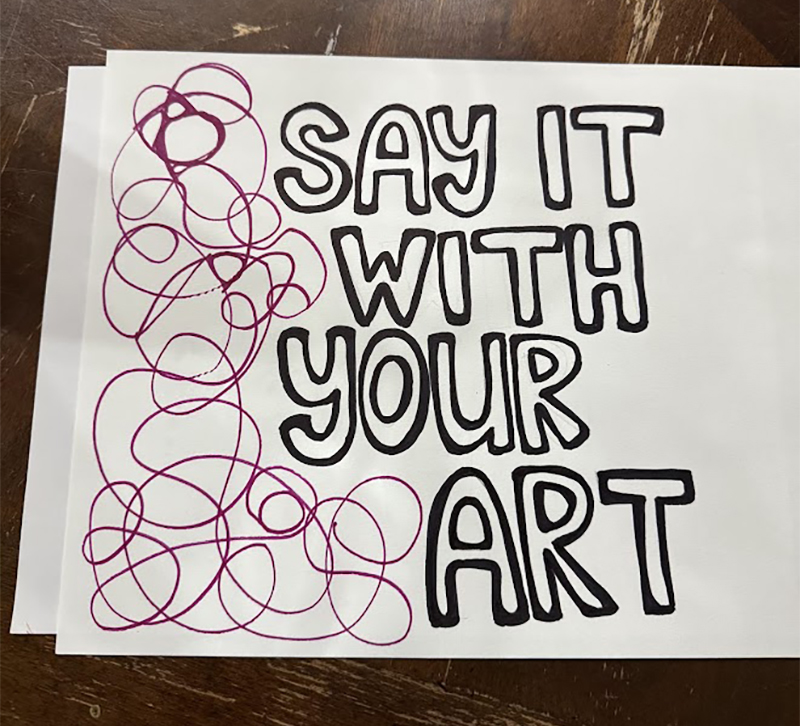
Most of the time, I start by drawing the overlapping lines and shapes directly on the page. I do not necessarily begin with a specific word, intention, or deeper meaning. Sometimes I simply want to draw and see where it goes.
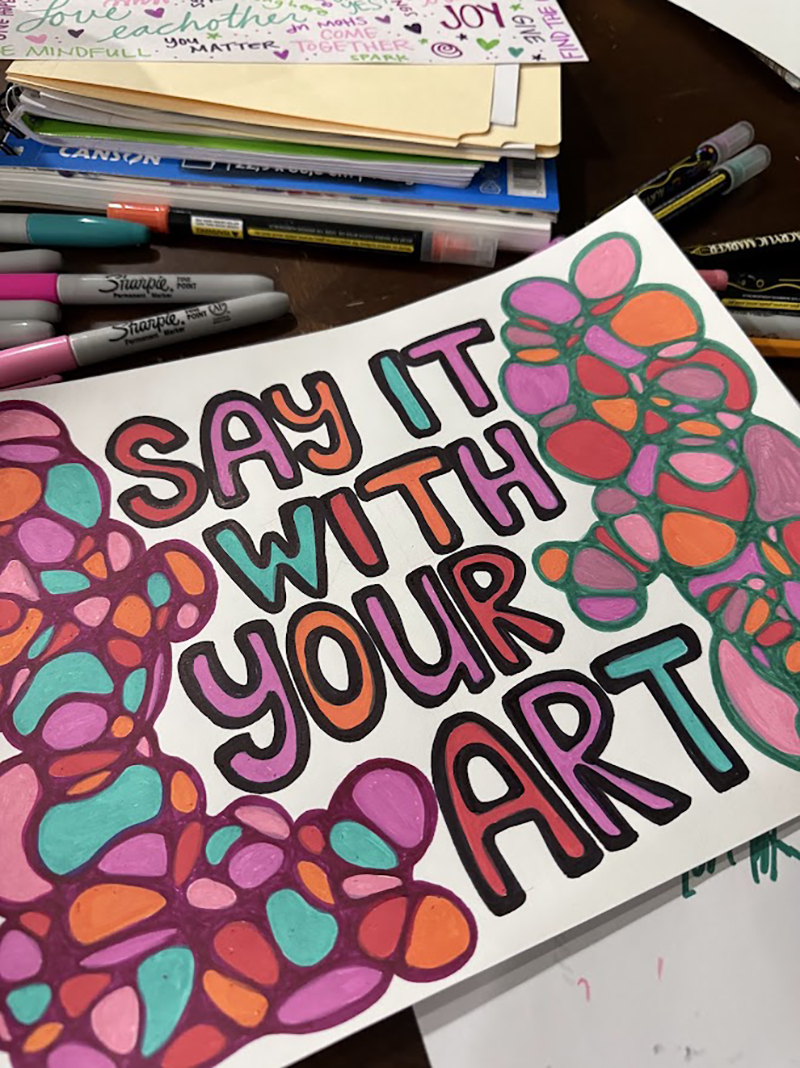
But I have created several variations of this practice. In this example, I started with the words “Say It With Your Art” and built the overlapping lines around them. You could build the design around a quote, affirmation, journal prompt, or one of the words from our monthly creative challenge..
You can plan your words first, begin with shapes, or start drawing without any plan at all. The process still works. You are simply choosing what you want the lines to grow around.
2. Build Your Lines Across the Page
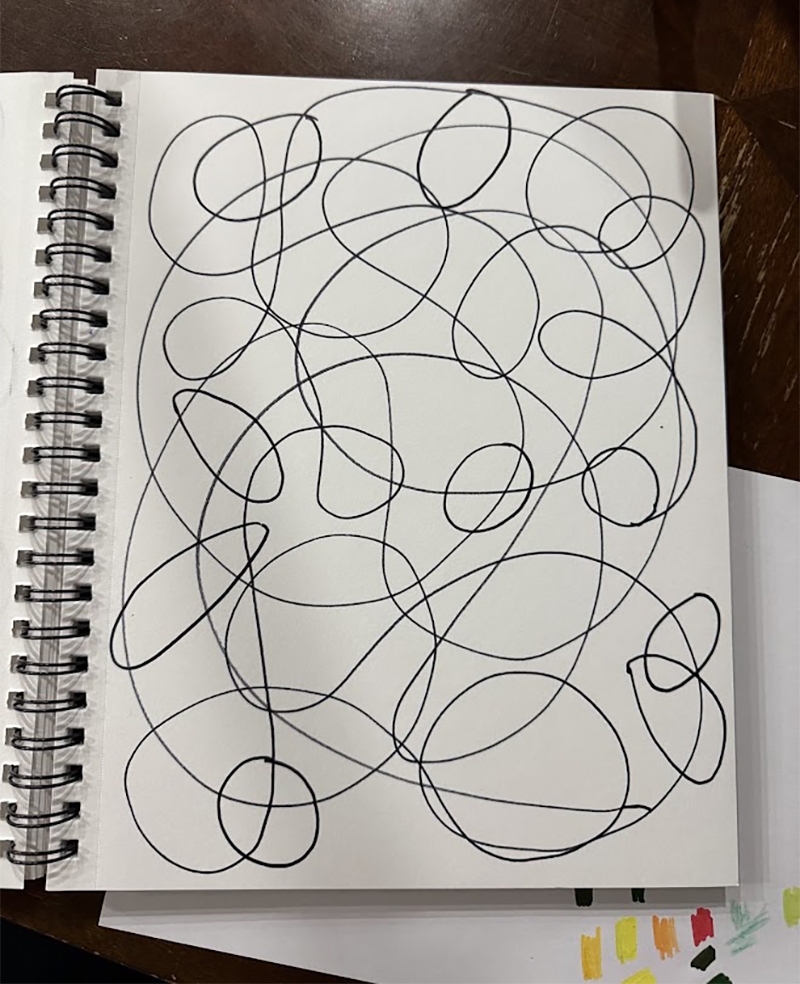
Place your pen on the page and start moving it. Let the line curve, change direction, cross over itself, and travel into different areas of the page.
I like a lot of detail in mine, so I continue adding lines and letting them overlap until I have created a dense web across the page. I do this before I begin rounding any of the corners. That way, I can see the full composition and all the intersections I have created before moving on to the next part.
You can make yours as detailed or as simple as you want. I clearly enjoy giving myself plenty of corners to round.
3. Round the Intersections
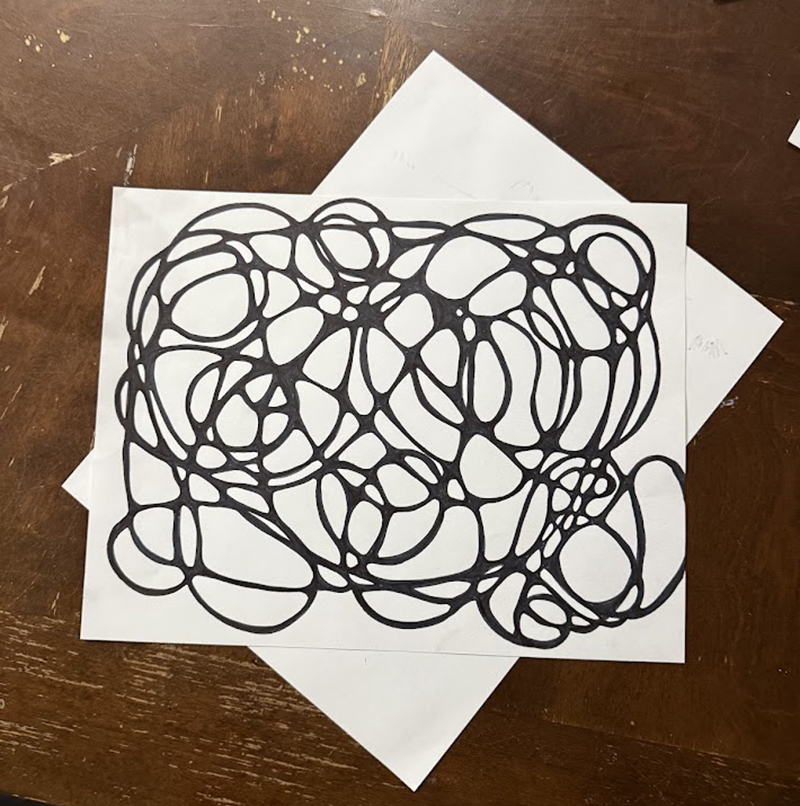
Once I am happy with the overlapping lines, I go back through the entire drawing and round the sharp corners created wherever the lines intersect.
I fill in each tight angle with a small curve, slowly working my way around the page. This softens the intersections and begins transforming the tangled lines into connected, organic shapes.
This is the part that takes time, especially when I have created a page with this much detail, but it is also the part I find especially meditative. I am not deciding what to draw next. The lines are already there. I can simply move through the page, one corner at a time.
4. Fill In the Spaces With Color
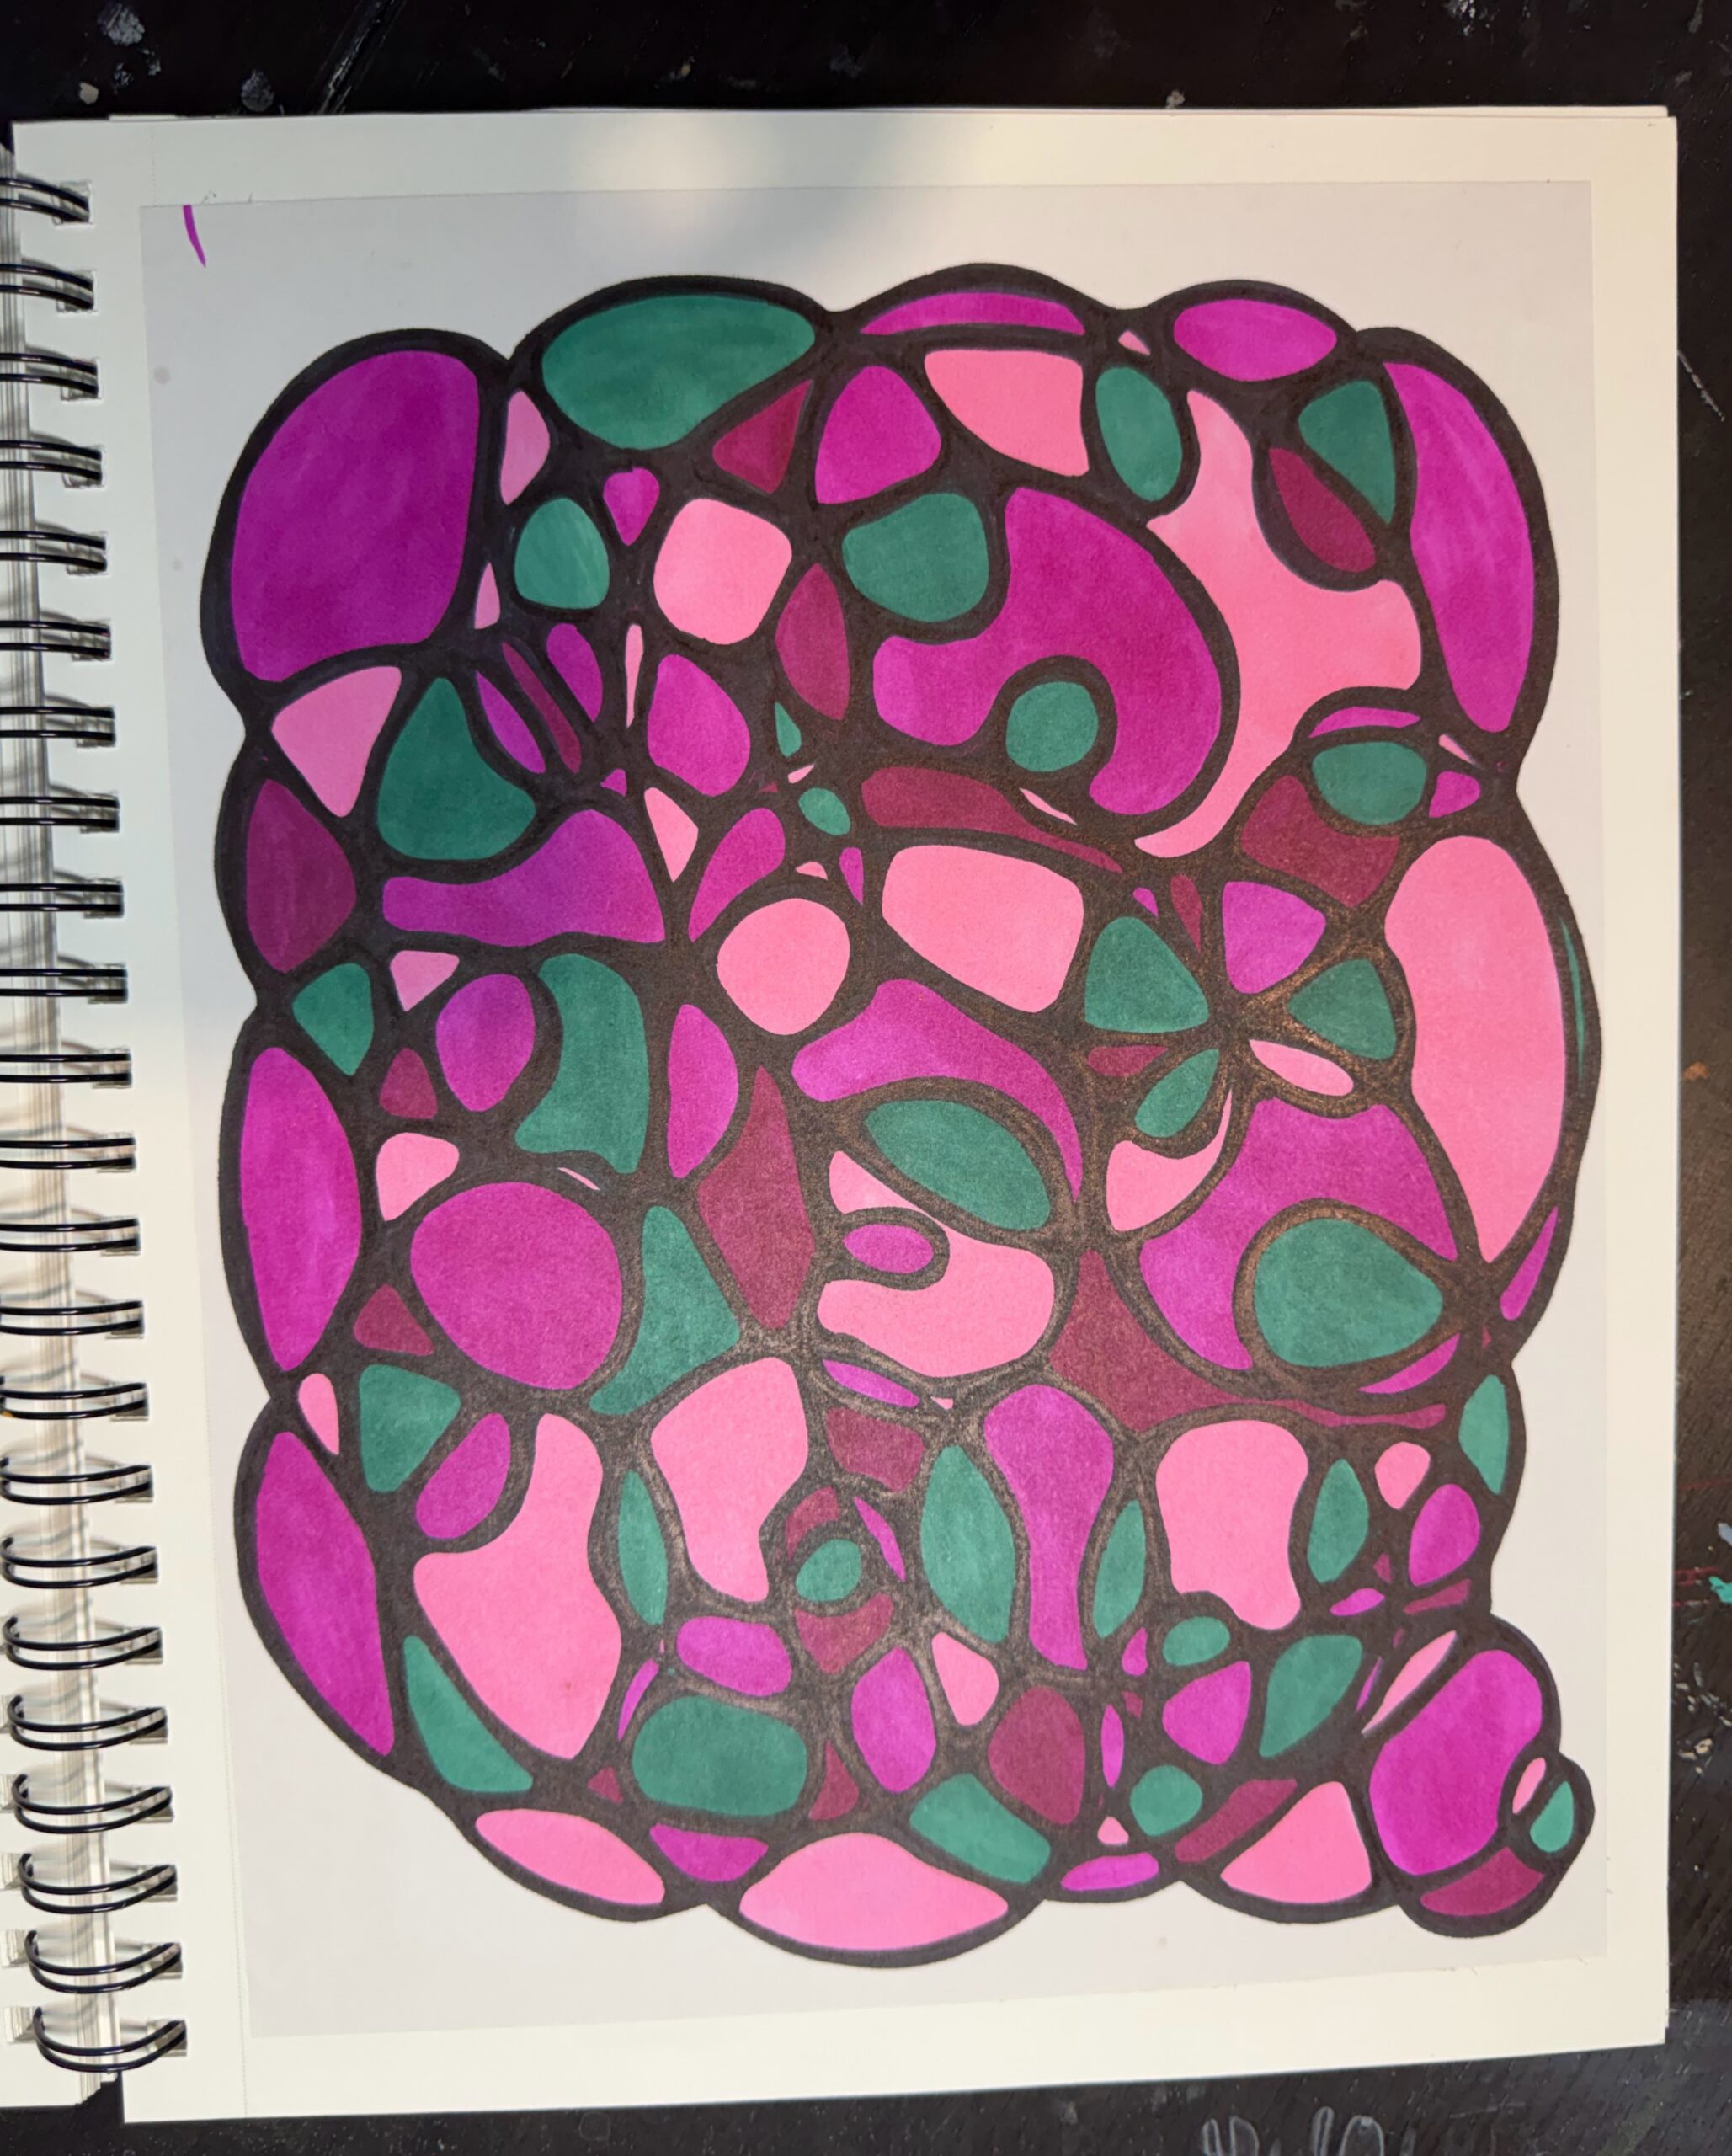
Once I have rounded all the corners, I start filling in the individual spaces with color.
I personally like using a black Sharpie for the linework and rounded corners. Because the Sharpie is permanent, I can go back in with alcohol ink markers or paint pens without the black bleeding into the color.
My very favorite supplies for this part are Posca pens, which are acrylic paint markers. I just really like paint pens. They are fun to use, the colors are nice and bold, and they make it easy to fill in all the little shapes created by the overlapping lines.
You can choose a specific color palette, follow your mood, or grab whatever colors you feel like using. You can fill every space, leave some blank, or keep the entire piece black and white. There is no rule saying you have to color it at all.
5. Touch Up the Black Lines
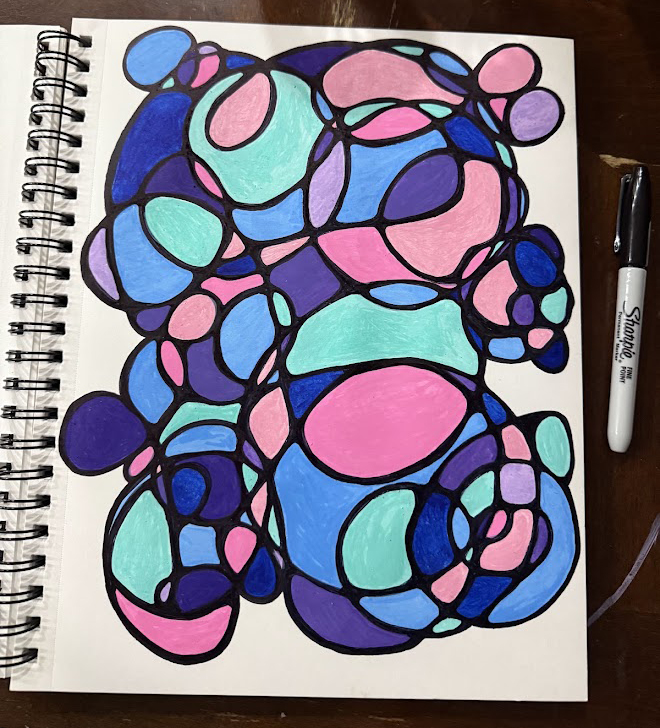
After the paint markers have completely dried, I usually go back over any black lines that need touching up with my Sharpie.
This helps clean up the edges and brings back the contrast anywhere the color may have covered part of the original linework. Since the paint is dry by this point, I can sharpen the final design without smearing everything together.
6. Add Another Layer, If You Want
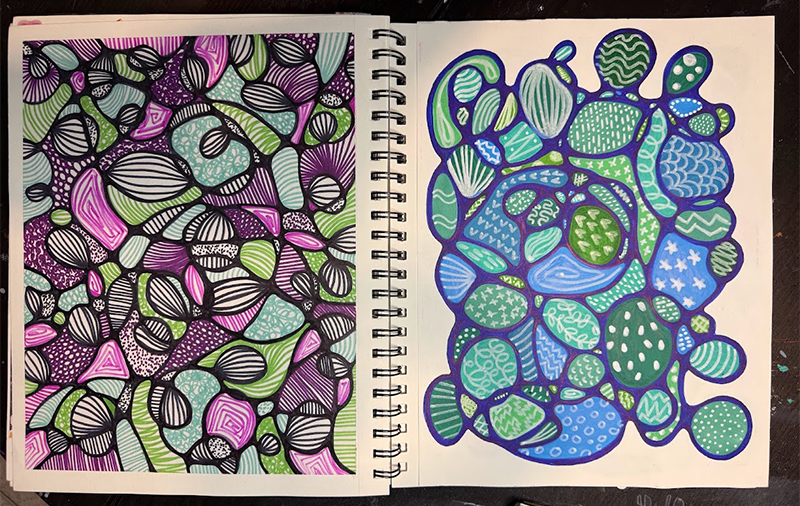
You can stop once the spaces are filled with color, but sometimes I keep going.
I might add patterns, dots, shapes, lines, or other small details over the colored areas. I may also create a background or build the drawing into a larger art journal spread.
This part is completely optional. You can stop with the black-and-white design, fill the spaces with color, or add as many extra layers as you want. The finished piece does not have to look any particular way.
7. Add It to Your Art Journal
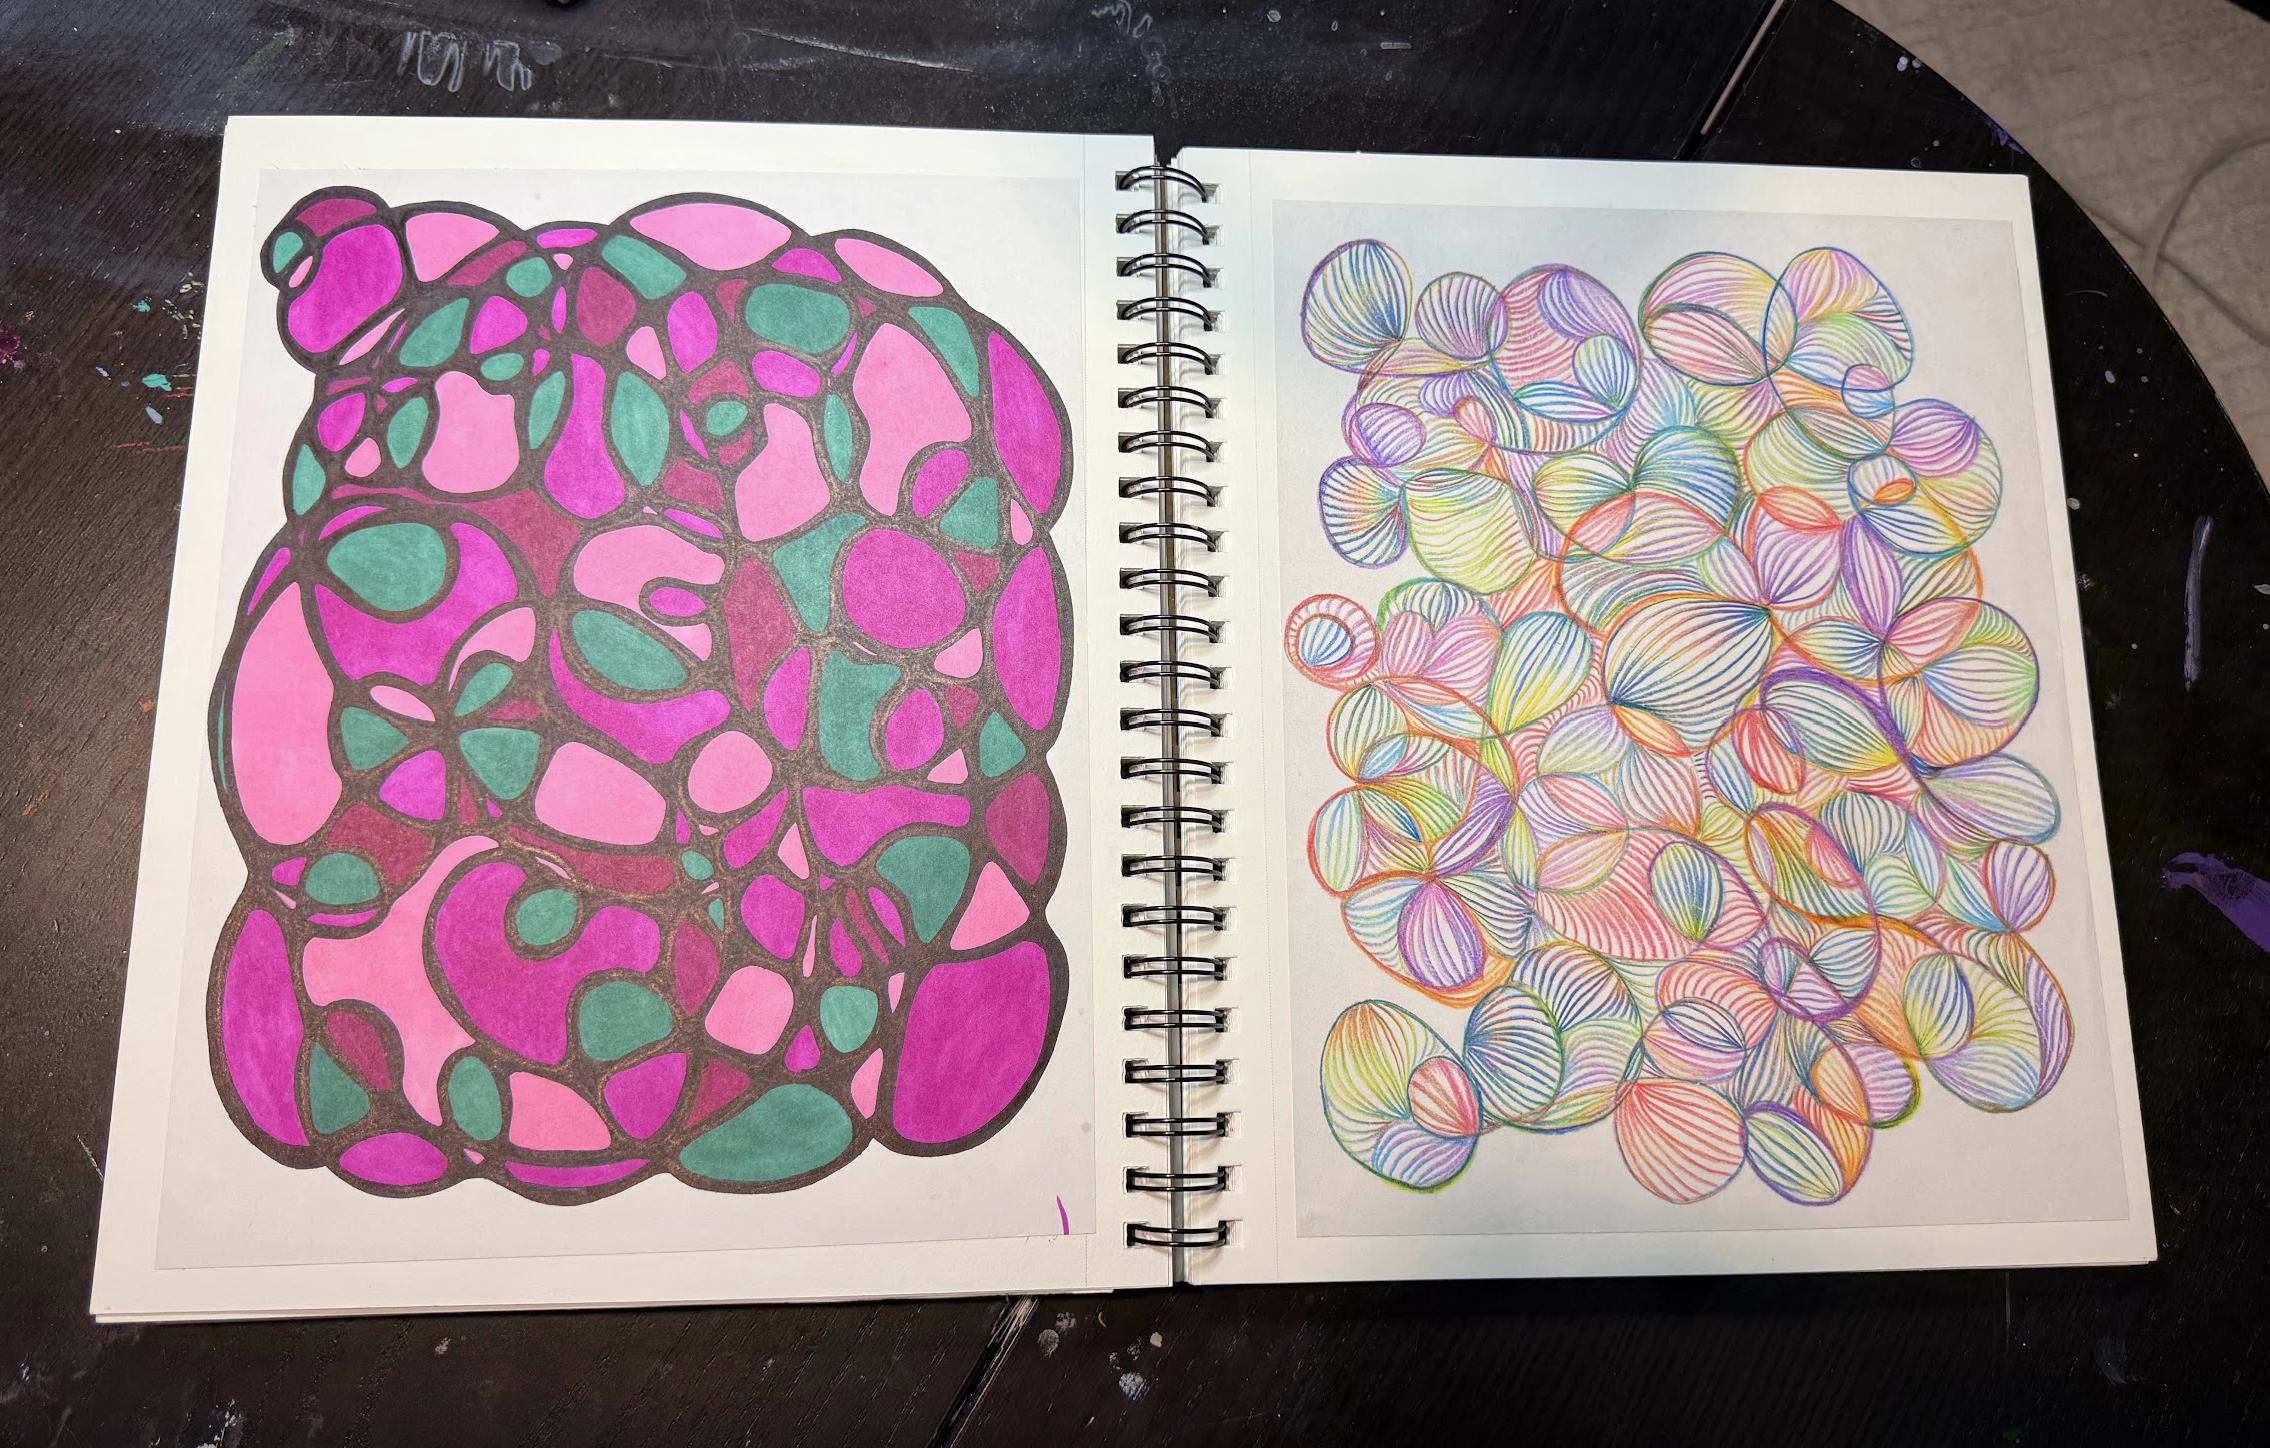
Sometimes I create these drawings directly in my art journal. Other times, I make one on a random piece of paper because I am sitting at the table with the kids or simply using whatever happens to be nearby.
Those pieces still belong in my journal.
I have glued and taped several of them into my art journals afterward. I like having them there as part of the larger collection, where I can come back, look at them again, and remember the moment when I made them.
Your creative practice does not have to happen neatly, in order, or inside the “right” book. Make the art wherever you are. You can always give it a home later.
What to Notice While You Work
You do not need to analyze every mark, but it can be interesting to notice what happens while you draw.
Are you gripping the pen tightly?
Are you rushing through the intersections?
Do you keep trying to make both sides symmetrical?
Are you choosing the colors you genuinely want, or the ones you think will look best together?
Do you feel yourself relaxing into the repetition, or are you getting frustrated because the page is not matching the picture in your head?
None of these reactions are wrong. They are simply information.
Art journaling can show us our habits in surprisingly ordinary ways. Perfectionism has absolutely followed me onto the page before. So has impatience. So has the urge to add seventeen more things when the page was probably finished six layers ago.
The goal is not to judge any of it. Just notice.
There Is No Perfect Finished Page
It is very easy to turn a calming creative practice into another thing we believe we need to perform correctly.
Please do not do that to yourself.
Your page does not need to look like the examples on Pinterest. It does not need to use expensive supplies. It does not need to reveal a hidden truth about your life. It does not even need to be finished today.
If you enjoyed making it, learned something while making it, or gave your brain somewhere else to go for a few minutes, the page did its job.
And if you hate it? Turn the page.
That is one of the greatest gifts of an art journal. There is always another page.
Try It With the NamaSLAY Crew
Creative practices do not have to be complicated to be meaningful. Sometimes a pen, a blank page, and a wandering line are enough to help us reconnect with ourselves.
If you are already using the NamaSLAY Crew art journal prompts or monthly printables, try adding neurographic-inspired lines to one of your spreads. Use them as a background, build them around a word, or let them connect several pieces of the page.
There is no single correct way to make an art journal. Yours can be spiritual, messy, colorful, serious, funny, deeply personal, or all of those things before you have even finished your coffee.
Start with the line.
You can decide where it leads later.
Ready to make the page your own? Join the NamaSLAY Crew for free to access our creative resource library, printable journal pages, monthly prompts, and inspiration for your next spread.
Join the Crew for FreeA Note About NeuroGraphica
NeuroGraphica is a structured drawing method developed by Pavel Piskarev. The practice shared here is my personal, neurographic-inspired approach to creating art journal pages, not instruction in the complete official method. You can learn more through the official NeuroGraphica website.