How to Make a Paper Witch with Printable Templates

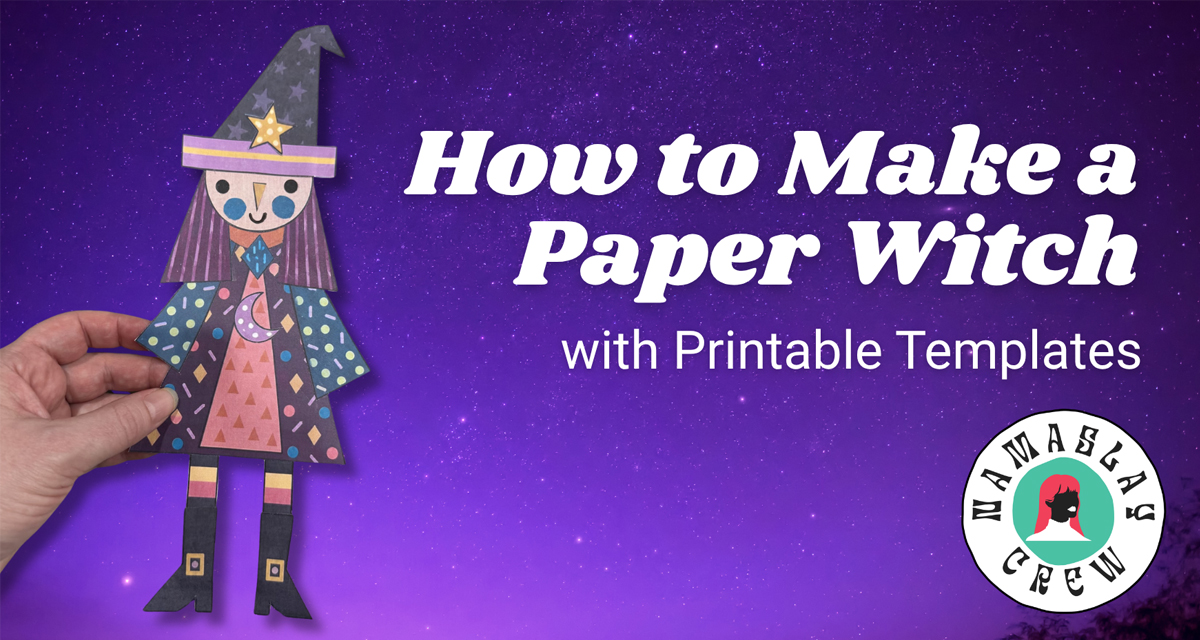
How to Make a Paper Witch with Printable Templates
I had already been working on a larger collection of printable paper dolls when I started thinking about how fun it would be to make a simpler character from basic layered shapes.
Since it was October, obviously, she became a witch.
I wanted her to be colorful, cute, and easy to make without a bunch of complicated little pieces. A round head, angular hair, a layered dress, striped legs, chunky boots, and a crooked witch hat were really all she needed.
And honestly, she turned out so freaking cute.
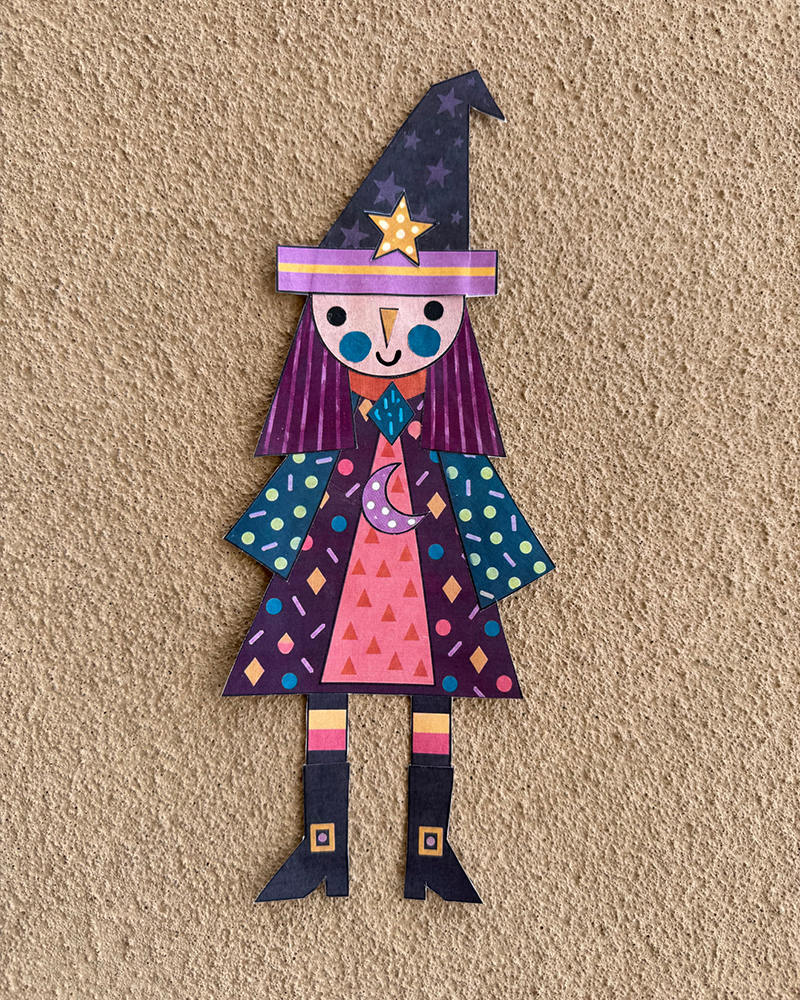
This project is perfect for October, but your witch doesn’t have to be limited to Halloween. She could be a moon witch, garden witch, kitchen witch, winter witch, magical storyteller, or whatever strange little character wants to show up.
What You’ll Need
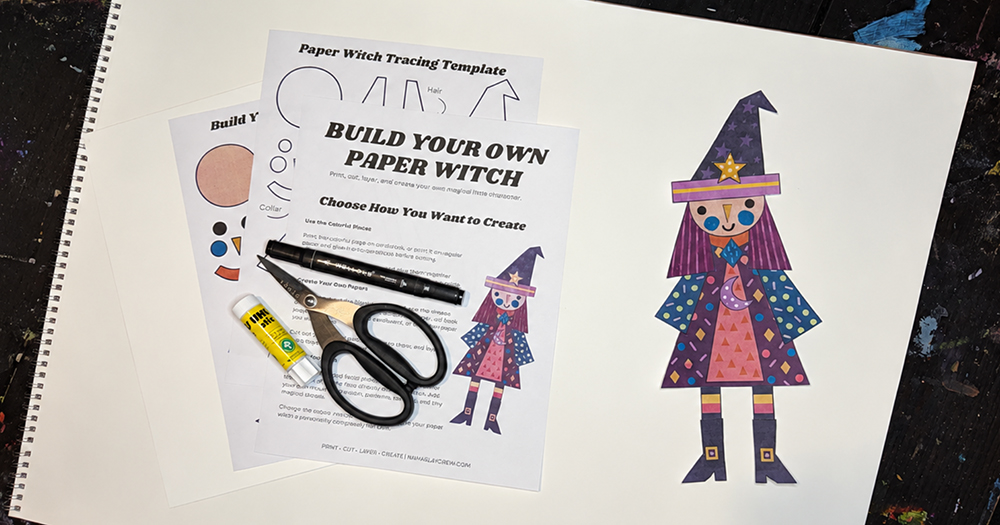
To make your own paper witch, you’ll need:
- The Make Your Own Paper Witch Printable Kit
- A printer
- Regular printer paper or cardstock
- Scissors
- A glue stick or craft glue
- A black pen or marker
- Optional painted, patterned, or recycled papers
- Optional lightweight cardboard for a sturdier witch
- Optional hole punch for making the eyes
The printable kit includes a colorful ready-to-cut version and blank tracing templates, so you can choose how much you want to customize.
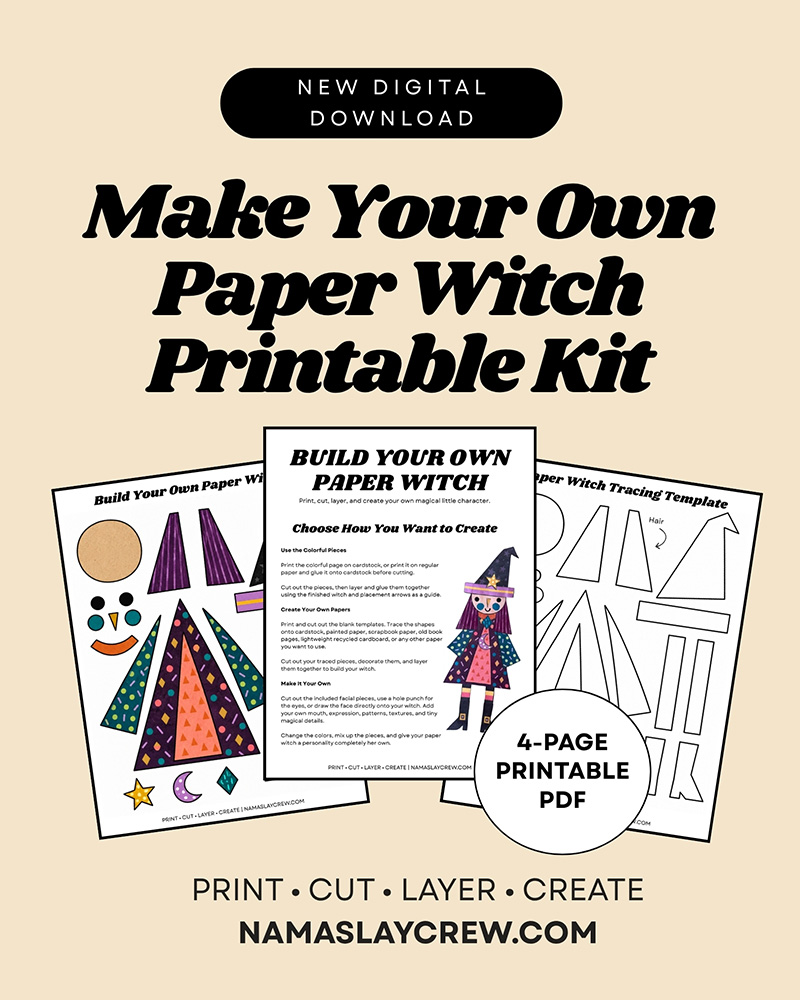
Make Your Own Paper Witch Printable Kit
Four printable pages with instructions, colorful ready-to-cut pieces, and reusable tracing templates.
Choose How You Want to Make Her
There are two ways to use the printable.
Use the Colorful Pieces
Print the colorful page directly onto cardstock.
If your printer doesn’t handle cardstock well, print the page on regular paper and glue the entire sheet onto cardstock before cutting. Let the glue dry so the layers don’t move around while you work.
Cut out the individual pieces, arrange them, and glue everything together using the finished witch and placement arrows as a guide.
Create Your Own Papers
Print and cut out the blank templates, then trace the shapes onto:
- Cardstock
- Painted paper
- Scrapbook paper
- Old book pages
- Magazine pages
- Lightweight recycled cardboard
- Any other paper that catches your attention
Cut out your traced pieces, decorate them, and layer everything together to create a completely original witch.
Change the Size
When printed at 100%, my finished witch measured a little over 11 inches tall. The exact size may vary slightly depending on how you overlap the pieces.
She is intentionally large enough to make the cutting, layering, and decorating easy, and she fits nicely on the 9-by-12-inch art-journal pages we have been using.
If you want a smaller witch for a card, gift bag, tag, or smaller journal, adjust the scale in your printer settings. Try printing at 75% or 50%, depending on your project.
The pieces are simple and geometric, so you can also use the blank templates as starting shapes and trim them down yourself.
Keep in mind that the facial pieces will become harder to cut when reduced. If you make a smaller witch, try drawing the face directly onto the paper or using a hole punch for the eyes.
How to Assemble Your Paper Witch
Watch the paper witch come together from printed pieces to finished character, then follow the steps below to make your own.
Print the pages at 100% or “Actual Size” for the intended template size.
Start by cutting out the larger pieces, including the dress, hair, hat, legs, boots, and side panels.
Before you glue anything, arrange all the pieces on your work surface. This gives you a chance to see how the layers fit and change anything you want.
Place the legs behind the dress, then add the boots. Position the hair behind the head, and place the curved collar beneath her face. Add the hat, brim, clothing layers, and magical decorations.
The colorful kit includes small circles for the eyes, but those can be tricky to cut. You can use a standard hole punch with black paper, draw the eyes directly onto her face, or use the printed circles.
Draw your own mouth and expression with a black pen or marker.
Once you like the arrangement, glue the pieces together one layer at a time.
Give Your Witch a Personality
The basic shapes are only the beginning.
Change her colors. Add more patterns. Draw eyelashes, glasses, freckles, lipstick, or an entirely different expression.
You could add:
- Sequins or glitter
- Ribbon or yarn
- Tiny paper flowers
- Words or affirmations
- Stars, moons, and magical symbols
- Fabric scraps
- Stickers
- Metallic paint or markers
- A miniature broom, book, potion bottle, or black cat
Give her a name, a personality, and a little backstory.
Where does she live? What kind of magic does she practice? What is she really good at? What does she keep inside those enormous boots?
This can be a finished craft project, but it can also become a storytelling activity for kids, families, classrooms, or anyone who enjoys making up strange little characters.
More Ways to Use Your Paper Witch
Once your witch is finished, you can:
- Add her to an art-journal spread
- Use her in a seasonal collage
- Turn her into a handmade card
- Frame her as Halloween or autumn décor
- Glue her onto heavier cardboard for imaginative play
- Create a whole collection of witches with different personalities
- Make up stories with your children or grandchildren
- Use the same templates with completely different colors and papers
You could also use the basic construction idea to create fairies, moon queens, winter characters, garden witches, and other magical paper people.
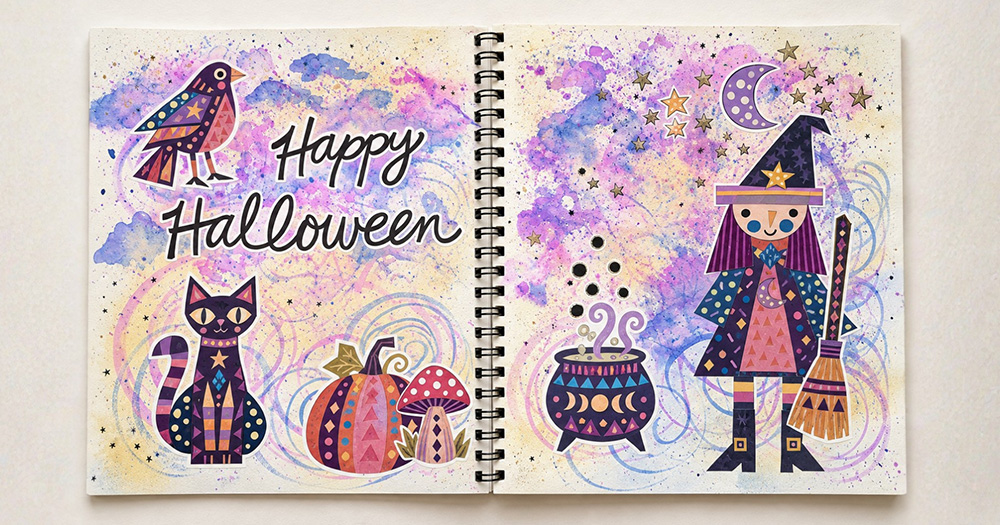
I also couldn’t help myself and made a bonus printable filled with coordinating witchy folk-art cutouts, including a black cat, pumpkin, mushroom, cauldron, broom, bird, crescent moon, and stars.
Use them to build a scene around your witch, decorate a journal spread, make cards and gift tags, or mix them into other seasonal collages. I used mine to create this colorful two-page mixed-media journal spread.
Download the Paper Witch Printable Kit
The complete four-page kit includes:
- Simple project instructions
- A finished paper witch example
- Blank tracing templates
- Colorful ready-to-cut witch pieces
- Separate facial features and magical decorations
- A bonus page of coordinating folk-art cutouts, including a black cat, pumpkin, mushroom, cauldron, broom, bird, crescent moon, and stars
Download for FREE if you are a member.
Download the kit, print your pages, and make a witch that’s completely yours.
Download the Printable Paper Witch Kit
I cannot wait to see who shows up!
If you make your own paper witch, tag @namaslaycrew on Instagram or Facebook and use #NamaSlayCrewChallenge so we can see what you create.