A Guide to Perfecting DIY 50s Style Pin Curls
A Guide to Perfecting DIY 50s Style Pin Curls
For centuries, hair has often been recognized as a form of self-expression for people. In many cultures, people have found hairstyles a simple way to show the world who they truly are.1 The 1950s US was no exception. People in this time period had developed an affinity for the more affluent, post-war culture, and began to devote a great deal of care to how society perceived them.
One way for a woman to show off wealth was by ensuring a freshly done hair style at all times. During this time period, it was common for women to go to the salon every week to freshen up their hair.2 In many regions, a woman taking her daughter to the salon for the first time was considered a rite of passage and a symbol of movement from childhood towards adulthood.
Why Pin Curls?
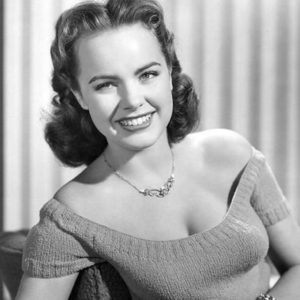
Due to an explosion of culture that was insistent on movie-star curls, many women were insistent on achieving the look of their favorite celebrities. Celebrities such as Terry Moore and Joan Evans were sporting curls, creating an uptick in women who wanted to recreate this classic look. With the invention and growing popularity of the TV, women had more access than ever before to these and other favorite celebrities.
Many hairstyles in the 1950s were complicated, damaging, and time consuming. By contrast, pin curls had gained popularity back in the 1930s as a simpler and less damaging method of achieving the desired, curly-haired look. With its combination of simplicity, low damage, and movie star support, pin curls became a statement of the decade.3
For over 100 years, pin curls have and still remain an easy and elegant hairstyle for any person searching for a new and classy look. Today, through the return of popular retro style trends, as well as the advent of modern burlesque, people across the country are returning to this classic look. Many are even reinventing how these curls can be achieved. With its no-heat procedure reducing the risk of damage to your hair, pin curls are worth giving a try on any hair length.
How to Do Pin Curls
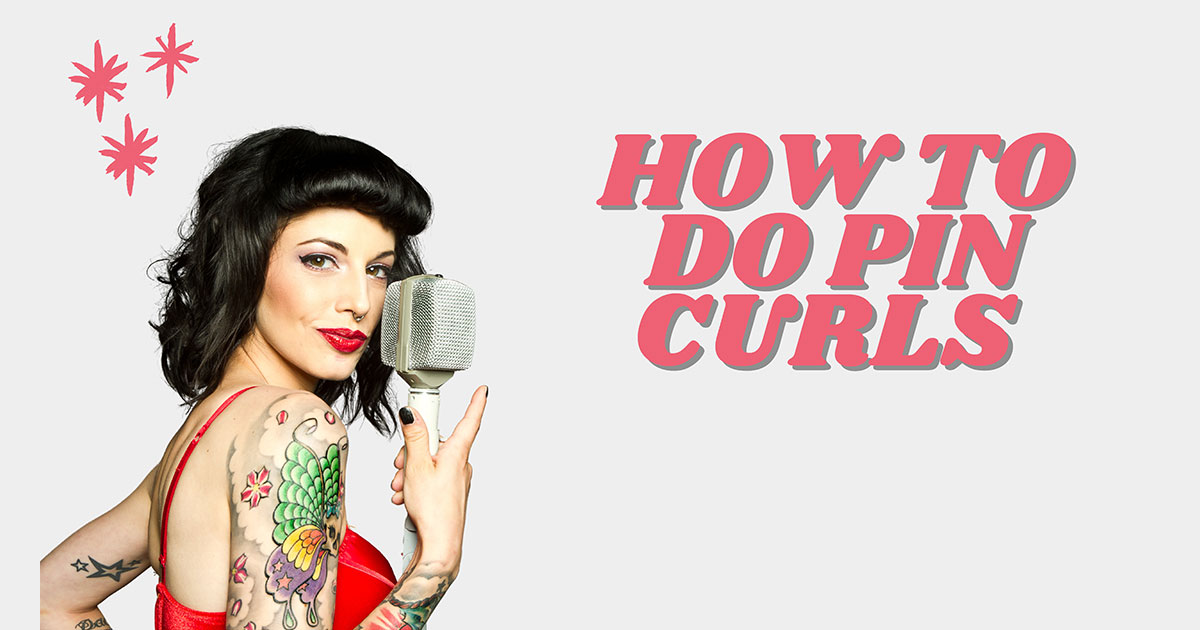
In the 21st century, it is easier than ever before to recreate hairstyles that were once only achieved by a beauty shop and a stylist with years of experience with hair. Use our step-by-step guide to master pristine pin curls for any themed party, event, or throwback day out.
Follow these steps to learn how to achieve the perfect 1950s pin curls:
Step 1: Wash
Before attempting pin curls, wash your hair. Clean hair is able to hold the style for longer and promises better results. If your hair is thinner, you may require your hair to be a bit damp (not wet). A bit of moisture can act as a hair product and better allow your hair to hold the style. For thicker hair, towel dry hair until damp.
Step 2: Brush
Thoroughly brush out your hair until every tangle is gone. Then, create a nice, straight part down the middle. If you’re looking to achieve better results, apply a curl setting or shaping lotion to your hair. This product creates a layer that helps your hair hold in place while pinned up.
Step 3: Section and Smooth
Starting at the very top of your hair to avoid tangling, begin separating your hair into one-inch sections. Comb each smooth before creating your pin curls.
Step 4: Create Your Curls
Using your pointer finger, start at the end of the hair shaft and wrap your hair around your finger once, curling the strand toward the nose. Using your other hand, continue the curl counterclockwise up the strand of hair until you reach your scalp. If you want tighter curls, wrap your hair a few times around your finger before moving up the strand.
Step 5: Pin
Once your curl is tightly at the scalp, use a curl pin to pin it to your head. Then, continue creating curls from the top of your scalp to the bottom. Ensure you are curling every piece of hair in the same direction.
Step 6: Dry
After all sections of your hair are pinned up, you have the option to wait for your hair to dry naturally, or to blow dry it while it is pinned up. If you choose to air-dry, you can also provide extra protection for your curls by placing a hairnet over your finished curls, keeping it in place with a couple of bottom pins at the base. Tip: if you want to speed your natural drying time, try drying in the sun.
Step 7: Brush Out
When your hair is completely dry, remove the pins and brush the hair out. Take care to shape the curls with your brush, instead of pulling the curls straight. Alternatively, you can leave your curls pinned up for an even more retro look.
Pin Curl Don’ts
Pin curls can be achieved on short or long hair. It does not take an expert to perfect them, but it is important to remember that simple mistakes could interfere with achieving perfect results. Here are a few pin curl don’ts to avoid:
-
- Don’t attempt to pin curl dry or less-than-clean hair.
- Don’t curl strands of hair in different directions. Most stylists prefer to curl counterclockwise, but as long as the direction remains consistent, your preference is up to you.
- Don’t use bobby pins, which can cause creasing. Instead, try prong clips to hold curls in place.
- Don’t attempt to brush out curls that are not completely dry. Otherwise, the curl will be lost.
- Don’t work from the bottom of your hair first, or it will easily become tangled. Instead, always work top to bottom.
How to Do Pin Curls for Burlesque

Burlesque dancing has become a unique way for women to embody their femininity through a theatrical, often erotic, dance form. Evoking sexuality in a comedic or elusive way, burlesque often involves elaborate costumes, props, and hairstyles. 4 While burlesque first became popular in the 1860s, over the years, burlesque dancers have shed clothing and broadcast a more provocative image while on stage. Today, burlesque is performed in venues of all types across the United States and around the world.
On many occasions, modern burlesque dancers portray different time periods. Styles, customs, and more are often borrowed from influential people, popular stories, and culture. As a reflection of that particular society, burlesque often pokes fun using satirical elements of the time period, providing a glimpse into politics and popular media of the age. 5
In addition to period-specific elements, these elaborate acts may include the use of feather fans, sequins, and fringe, allowing for the incorporation of strip teases throughout the performance. The dance numbers are not easy, and it is important to have a secure hairstyle that can endure the entirety of the dance without losing its shape.
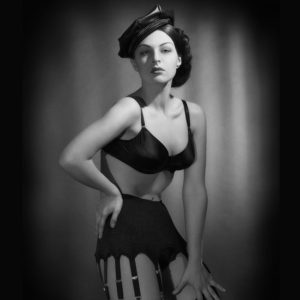
While pin curls were popular in the pre-and post-war time periods, they were an even more popular hairstyle for burlesque dancers due to their ability to provide a lasting, glamorous look. To ensure your pin curls will hold for the length of a performance without losing their shape, follow these simple tips:
1. Skip the Conditioner
If you are planning to create pin curls for a burlesque performance, do not use conditioner when washing your hair before the performance. Conditioner leaves hair feeling smoother, making it harder for hair to hold a style. By skipping the conditioner, your hair will have more texture and less slip, keeping it in place.
2. Try a Shaping or Styling Lotion
Although pin curls are possible without any additional products, a shaping/styling lotion will give your hair an added stickiness. This additional texture creates extra hold. In addition, it makes it easier to control loose ends and tightly roll up a curl.
3. Use a Hooded Dryer
If you are operating on a time constraint and cannot wait for your curls to air dry, a hooded dryer provides nice, evenly dried hair. Since brushing out a pin curl before it is completely dry can destroy the curl, a hooded dryer provides assurance that your curls will bounce right back when brushed out.
4. Start and Finish With Texturizing Spray
Pin curls wear best when you forgo the hairspray and instead finish them off with a texturizing spray. Spraying your curls with a heavy hairspray can make your hair feel gritty and will cause your curls to lose their bounce. A texturizing spray gives hair a full and voluminous look without creating that hard shell. Texturizing sprays can act as a lighter version of hairspray, helping curls hold their shape without feeling dry and stiff.
5. Use a Curling Tool
If you are finding it challenging to create the perfect curl with just your finger, try using an assistive curl creating hair tool. You can add volume and recreate curls that may not have turned out how you wanted them. As an added bonus, many of the newer tools on the market can curl without causing heat damage to your hair.
6. Sport a Hairnet
Hairnets may be as popular these days, but they are still extremely important in assuring that you do not have any free hairs. After your hair is all pinned up, secure it by placing a hair net over it until it is completely dry. A hairnet will hold the hair into place and make sure no flyways happen.
Get the Perfect Pin-Up Hair
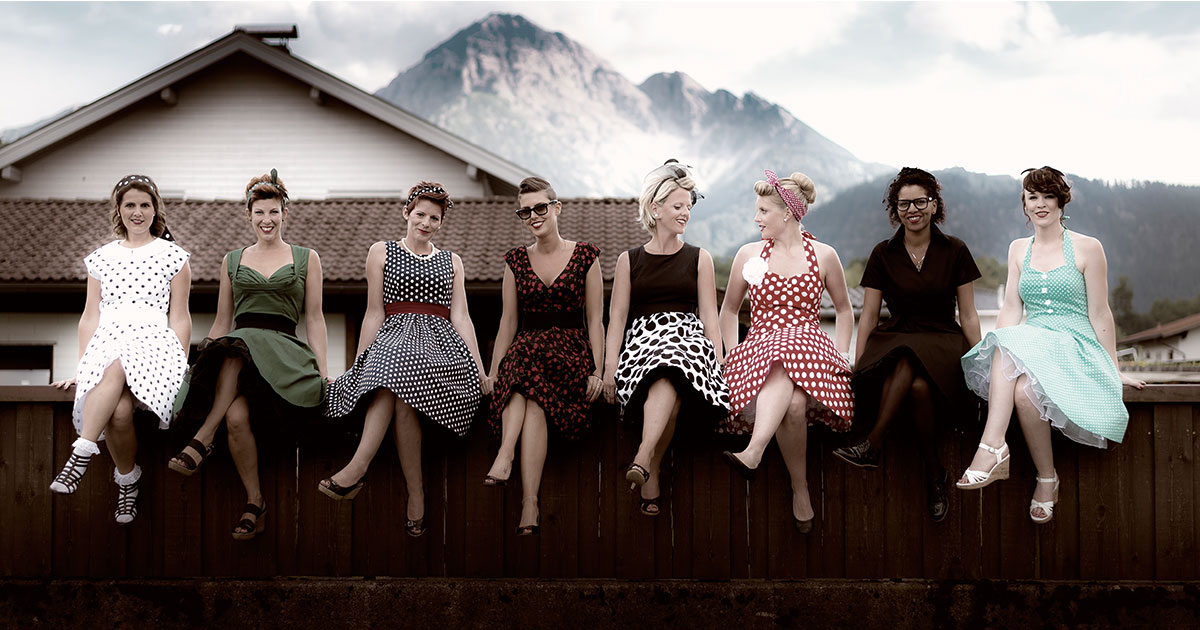
For centuries, hair has communicated a great deal about the personality of an individual. In this way, hair is a form of expression, and a great way to show off personality and culture. Perhaps best of all, hairstyles provide you with an opportunity to have fun experimenting with classic, modern, and unique looks.
Pin curl styles may be over 100 years old, but they are not going away anytime soon. Even modern celebrities such as Lana Del Rey can be seen sporting these legendary curls. Fortunately, you can resist heat damage and achieve that perfect curled look by trying pin curls today. For more beauty tips and other resources that can help you achieve the most confident and true version of yourself, follow the NamaSlay Crew blog.
Sources:
- Malcolmson, P. (2013). Me and my hair: A social history. Andrews UK Limited. Retrieved April 29, 2022, from https://www.google.com/books/edition/Me_and_My_Hair/h8K1BAAAQBAJ?hl=en&gbpv=1
- Sundh, E., & Wing, S. (2015). Vintage Hairstyles: Simple Steps for Retro Hair with a Modern Twist. Chronicle Books. Retrieved April 29, 2022, from https://books.google.es/books?hl=en&lr=&id=D8sxCAAAQBAJ&oi=fnd&pg=PP1&dq=#v=onepage&q&f=false
- 3. Sanvidge, S., Seckar, D. S., Wouters, J. S., & Florence, J. S. (2013). Penny Loafers & Bobby Pins: Tales and Tips from Growing Up in the’50s and’60s. Wisconsin Historical Society. Retrieved April 29, 2022, from https://books.google.es/books?id=ca5JAQAAQBAJ&printsec=frontcover#v=onepage&q&f=false
- Baldwin, M. (2004). Burlesque and the new bump-n-grind. Speck Press. Retrieved April 29, 2022, from https://books.google.es/books?hl=en&lr=&id=d3lSV2YYpcAC&oi=fnd&pg=PP15&dq=#v=onepage&q&f=false
- Scott, C. (2019). The Costumes of Burlesque: 1866-2018. Routledge. Retrieved April 29, 2022, from https://books.google.es/books?id=LqWbDwAAQBAJ&printsec=frontcover&source=gbs_atb#v=onepage&q&f=false
